August 24th, 2010
Not all of my adventures are outdoors. A few weeks ago, I decided to undertake a new challenge – redoing an old linoleum floor in my laundry/pantry room. Now let me make one thing clear – the only tool I own is a power drill that I use to make shell necklaces. I am crafty but home renovation was previously out of my realm. This was a big undertaking so I decided to start by doing some research.
Since my washer and dryer were going in there, I wanted to do something waterproof or at least water resistant. The other challenge with this room is a trap door to get into my crawlspace in the middle of the room. Since the door is already quite heavy, I didn’t want to use tile because I felt like it might make the door too much of a beast for me to pick up on my own and I need to have access to the crawl space in case I ever need to check on my furnace, plumbing, etc. Finally, I wanted to do something eco-friendly and affordable.
The first thing I did was to head to The Green Building Center here in Salt Lake City, UT. Their staff was knowledgeable and friendly and they have so many cool products to look at – I especially love the recycled glass countertops and their zero VOC paint selection. It is crazy how toxic many building materials are.
Back to the floors-the first thing I looked at was a product called Marmoleum. It is basically the original linoleum (before linoleum was made from petrochemicals) and is made from linseed oil and a variety of other eco-friendly products. Unlike vinyl, it is designed to last for a long time. The main reason I didn’t go with the Marmoleum is that I had to order it – I wanted something I could look at and pick up in store.
After looking at that, I met with a few flooring specialists, got some bids, wracked everyone’s brains for ideas, and thought about it for a few weeks. I checked out Habitat for Humanity’s Restore, a home building thrift shop in Salt Lake and Recycle Utah in Park City to see if either had any cool left over pieces of flooring I could use. By the way, if you ever are doing a remodel and have any leftover or demo materials, bring them to these places instead of throwing them away. You would be amazed at what people can do with your old kitchen cabinets!
I was at my wit’s end trying to decide what to do so I called the folks at the Green Building Center again. Ashley, the owner, suggested one product I had never heard of – Deco – Poz, an eco-friendly concrete overlay product. You can lay it down over almost anything, it is waterproof, looks cool and is easy and affordable. I was sold! I went in a bought all my materials that afternoon for the weekend ahead.
Then the real fun began… DAY 1
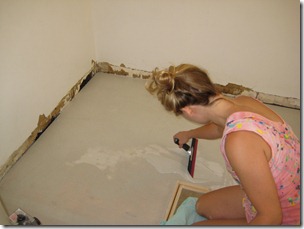
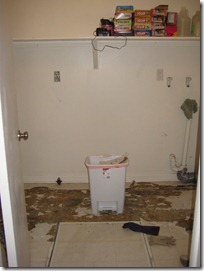 Peeling linoleum is not nearly as fun as I thought it would be… When I started, there was a big seam and I thought I could just get underneath that and get it all off in a little bit but obviously, that was not the case.
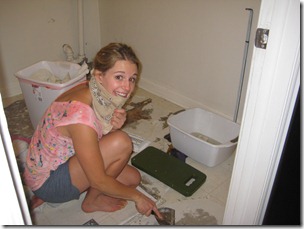
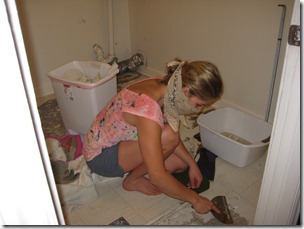
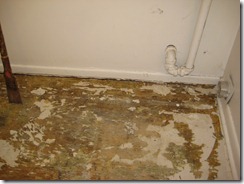
Here’s the floor after the first few hours of the project…
I called one of my friends, professional painter and ski photographer, Brent Benson and he came over to help me the next day.
Day 2: Turns out the best thing to do was to remove the whole subfloor…
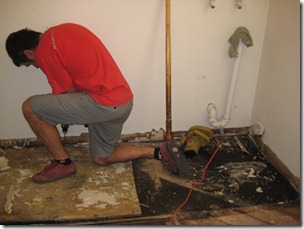
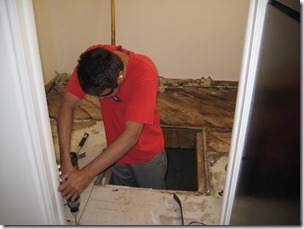
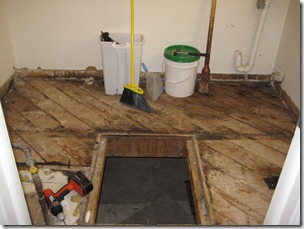
Thanks Benson for all your help. At this point in the project, I was hoping I would’ve been applying the Deco-Poz, but I was glad to do this the right way.
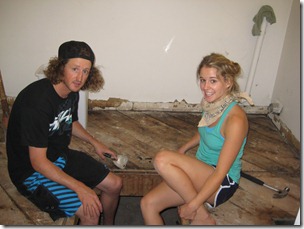
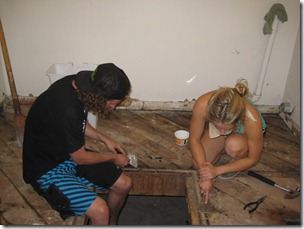
Forrest and I prepping for the install of the new subfloor.
Day 3: new plywood subfloor
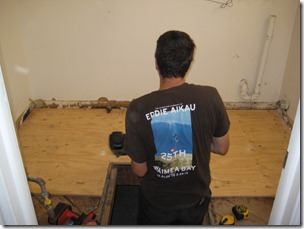
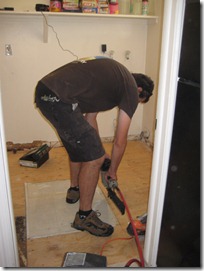
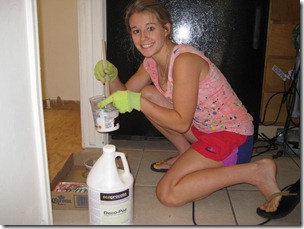
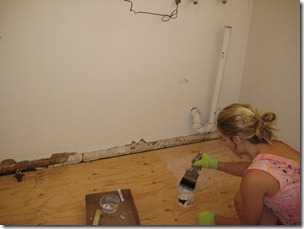
Sealing the new subfloor with Deco-Poz polymer.
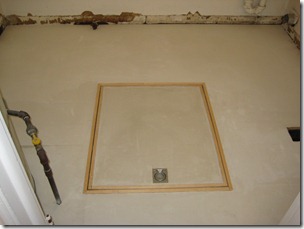
Day 4: Edging/framing the trap door.
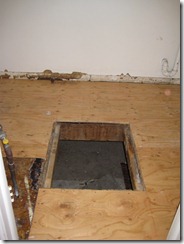
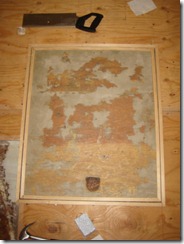 I had to reframe around the trap door – initially we wanted to use metal but it was tough to work with! So we ended up buying a mitre box and did that.
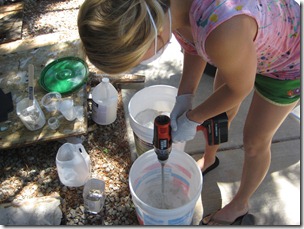
Day 5: the real fun began! Mixing up the first batch of Deco-Poz. I had done a mini-practice batch before and laid it on a piece of plywood. The Green Building Center had recommended I did that, and it made me much more comfortable working with the product before taking it to my actual floor.
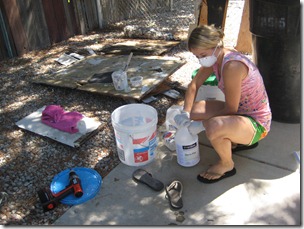
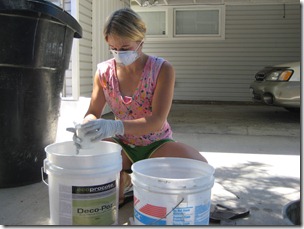
Mixing the Deco-Poz, water and Polymer. You want to achieve a pancake consistency, although I tended to favor more of a crepe like texture so that I had a little longer before it dried.
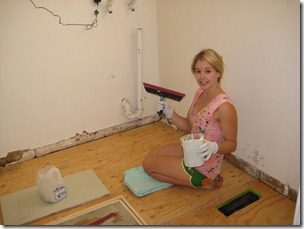
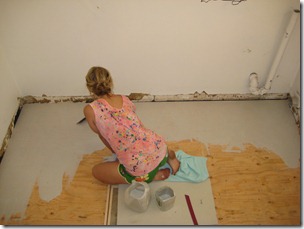
As an artist, I really enjoyed working with this product. It was a little stressful because it dries so fast, especially on a hot day in dry Utah. I used a Magic Trowel to get it flat and smooth.
Yeah! It didn’t take very long and I had a new floor!
Day 6: I sanded the concrete. Since I had the room wrapped in plastic, there are no pictures. I wore my respirator, goggles and gloves. I tried to do a wet sand but it didn’t work very well with my power tools so I dry sanded. There was a lot of dust – I did my best to shop vac up all the dust. But I just did a light sand and it came out very smooth.
Day 7: Staining. I decided to stain it light brown (I mixed charcoal grey with white).
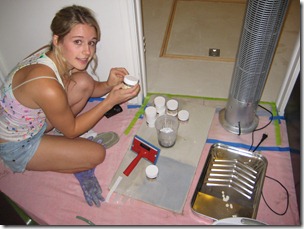
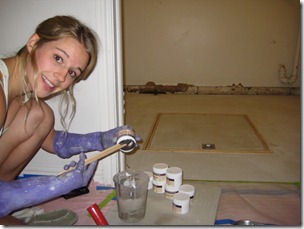
As I started laying down the brown, I decided I didn’t like it and quickly switched to concrete grey. The stain came out a lot darker than I thought it would. Staining was hard – you really have to push it in. It’s not like painting at all.
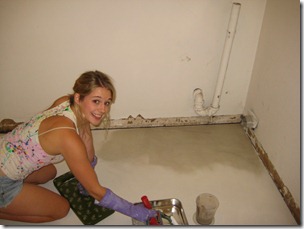
Day 8: Sealing
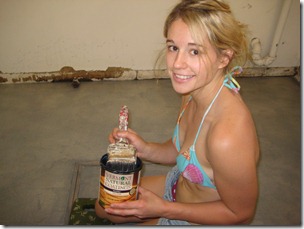
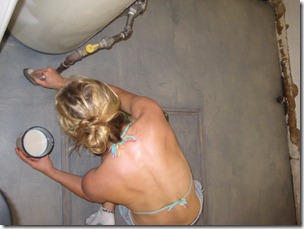
It was like 100 degrees that weekend and I had all the windows open in the room to get ventilation so I was working in my swimsuit – flooring is a good back workout! I definitely burned a lot of calories and strengthened my lats. I used Vermont Natural Coatings low VOC polyurethane and did 3 coats to get a semi-gloss finish.
After that, I added the baseboards, painted the walls and voila! New laundry room! It took a lot longer than I expected and was a lot of work but now I have the satisfaction of a job well done.
I would definitely recommend Deco-Poz concrete overlay for anyone looking to redo a kitchen, bathroom or laundry room floor. It is modern, affordable, and eco-friendly!
Also, be sure to check out the Green Building Center here in Salt Lake City – they have some great products to help with your next project.
Posted in Home & Garden, Salt Lake City, Style & Design


